

Bismarck Sewing & Quilting
Beginning Quilt Class
with Verna
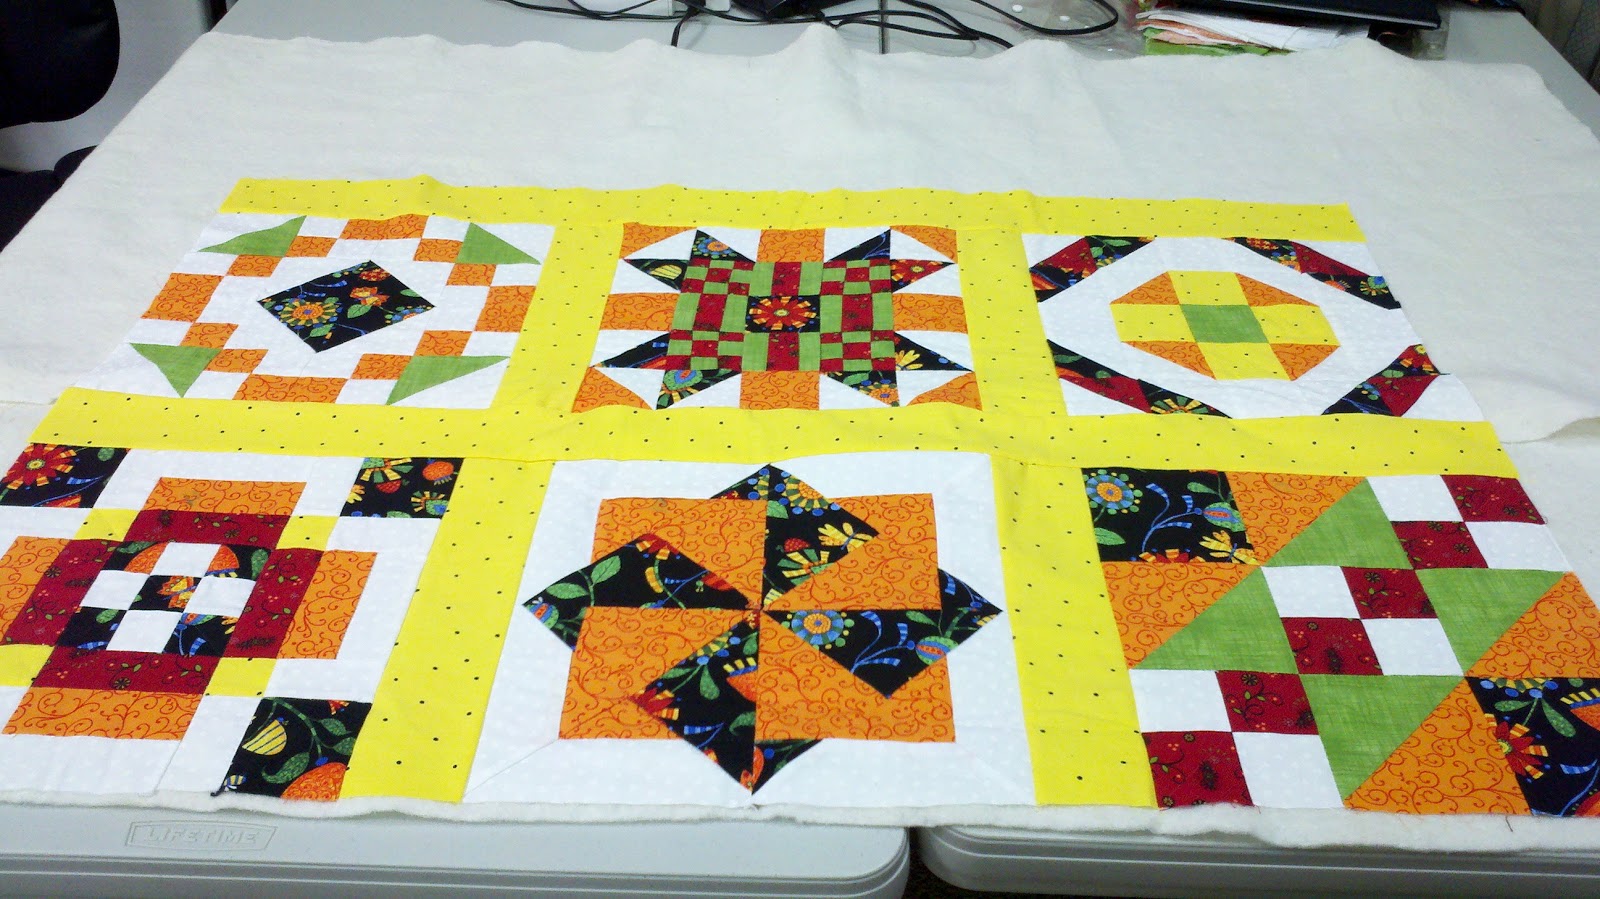
measure across the center of the blocks and sashing you've sewn thus far from left to right
mark down the measurement for each row individually
do not stack rows on top of one another
my measurements were
42"
40 1/2"
41 1/8"
41 5/8"
so Verna recommended
an average sashing measurement of
41 1/2"
so I cut five of my strips to that measurement
now add the first of the five sashings with the average of the four lengths to the second row
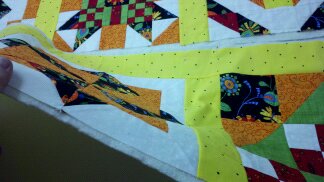
on the side that has 'extra' batting or wadding

push, tug or pull your way into perfection
first pin: center
second pin: stretch to left and pin
third pin: stretch to right and pin
place pins every 2" across

use 1/4" foot with regular cotton thread top & bottom


press in place:

place one of five average measured strips you just cut across the top of Row 1
Row 1 has an extra 10" of batting on the top for later borders

pin center first
pin to far left
pin to far right
push, tug and pull your way into pinning perfection
or you'll end up with big puckers that will have
to be ripped out


extra pinning for this row because the sashing strip is actually longer than these three blocks

as you sew in this instance, pull on the right (batting) a little to smooth the way

add sash to third row next to the 'extra' batting
pin as before


The final fourth row is going to have sashing on both top and bottom:


move to a large work area - double tables if possible
place row 1 above
place row 2 beneath
place ruler along row 2 along the sashing running north and south

pin ONLY through the fabric and NOT the batting behind
at the top edge

My little green glass pin is barely visible, but it's right next to the edge of the ruler and directly underneath the batting...pin only through the fabric, not both fabric and batting

Important: flip row two up on top of row one
using the pins you place earlier to show where the sashings will have to line up together,
adjust your rows one and two to line up to one another nicely
(I have to move this over to the right)

pin center, then far left, then far right, then pin all
this time, you're pinning the batting (wadding) of row 1
and the two cotton fabrics
(Verna says: Never sew two battings together)

Turn over with pins in just to see if it's going to work out....

Before you sew, make sure that the extra batting is laying over to the left side as you sew the one layer of batting and two cotton layers together....

Turn over and peek to make sure you don't have the battings together at this point...

Turn over and admire :-)
Turn to the back - your batting should not be together at this point.
Once all rows are sewn together, then...

on another quilting class member's quilt, Verna is displaying how to work with the four separate pieces of rows to cut away just enough that the batting lays flat next to each other and then will be hand-sewn (or you can use a special iron-on tape just for this) together before the side sashings and borders go on.


Be extremely careful not to cut the cotton quilt top underneath

trim carefully so that the batting lies nicely side by side and not over each other
but don't cut too much or else you'll have to go back in and add a piece of batting by hand!
I plan on using the haircut theory:
You can always cut more, but once it's gone, it's gone for good!

Wow, Verna does a great job!

Here's Verna from Bismarck Sewing & Quilting
She teaches this class every fall/winter and winter/spring
There's only three people signed up for the summer class, so they'll have to drop it if more don't sign up!
If you are in the Bismarck, North Dakota area, please consider signing up!

Verna's fixing to demonstrate the special hand-stitch to use for the binding
she places a stitch every inch on one side, then through all the way and begins again on the other side
placing a knot (just through the loop once in the same spot)
every four inches on the outside and every six inches across the blocks of the rows

A Quilt As You Go class member shows her beautiful quilt!

Here's another interpretation:

Aren't these just the most fun spools?
Love this fabric choice!

More to come in the next week - quilting class will resume on 4/14/11
please check back for more on the outside sashing
placement of borders
pinning on the back
finishing and
binding!
Have a great day,
Mary Ann @ RocknQuilts
I sew appreciate your comments :-)
**************************
This is part 3 of the Quilt As You Go with Eleanor Burns technique here on RocknQuilts
****************************
Also try out our family recipes at
1949 Betty Crocker Bit o' Chocolate Chiffon Cake with original recipe and tutorial:
*******************************
And now for news about a GIVE AWAY right here at RocknQuilts...be sure to "follow" this blog so you don't miss out!
Please check back the 1st week of May when RocknQuilts presents its first ever featured guest, Linda of www.buzzingandbumbling.blogspot.com. She has created beautiful, original quilting patterns and RocknQuilts will feature three of her new patterns in a GIVE AWAY!
Thanks for the great lesson. It all is making sense now. I look forward to the next two.
ReplyDeletegreat post Mary Ann,well done
ReplyDeleteThe Quilt as you Go technique is a fun technique. You did a great job posting insights.
ReplyDeleteSewCalGal
www.sewcalgal.blogspot.com
Thank you very much everyone! I can't wait to post my finished product :-)
ReplyDeleteThat is awesome!
ReplyDelete